How to weld with a CORMAK laser welder – a step-by-step guide
How to Weld with a CORMAK Laser Welder – Step-by-Step Guide
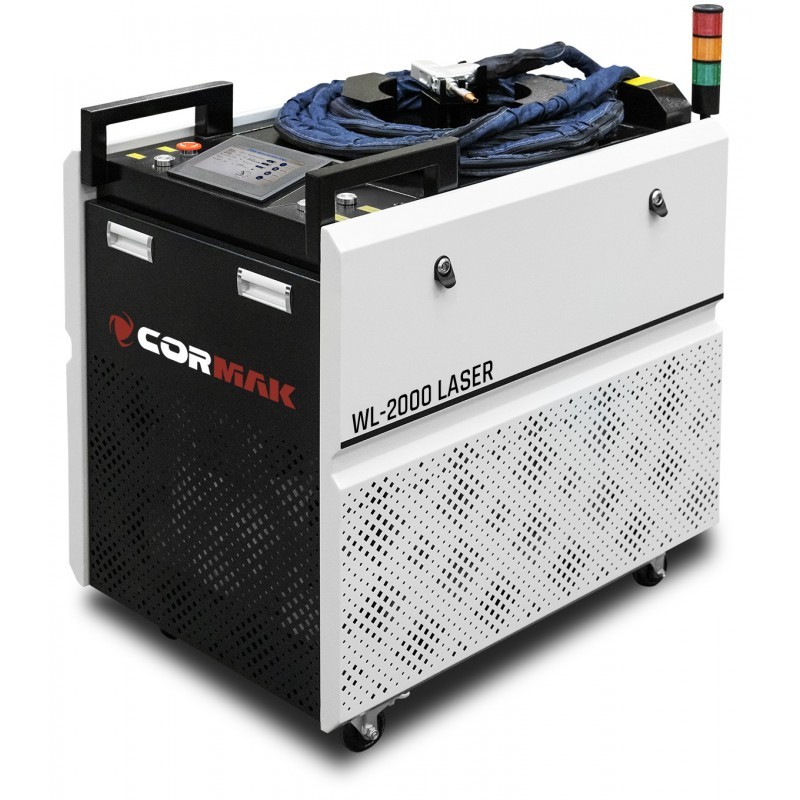
Laser welding is one of the most advanced metal joining methods, offering high precision, clean seams, and minimal distortion. In this article, you'll learn how to weld step by step with a CORMAK laser welder – a leading industrial welding solution.
Why choose a CORMAK laser welder?
- High build quality,
- Touchscreen control interface,
- Stable fiber laser beam,
- Welds stainless steel, carbon steel, aluminum, copper,
- Safe and ergonomic construction.
How to prepare for welding?
1. Safety first
- Wear laser-protective clothing,
- Use safety goggles included in the kit,
- Ensure the area is free of flammable materials.
2. Prepare the material surface
- Clean the metal from rust, oil, and dirt,
- Maintain a minimal gap – 0–0.2 mm.
Step-by-step welding
Step 1: Turn on the device
Power on the machine, select the welding mode and set parameters on the touchscreen.
Step 2: Adjust the welding head
Set the proper angle (usually 45°) and aim the laser beam precisely.
Step 3: Start welding
Press the trigger and move the head steadily along the seam.
Step 4: Finish and inspect
Stop the laser, let the material cool down, and inspect the weld visually.
Practical tips
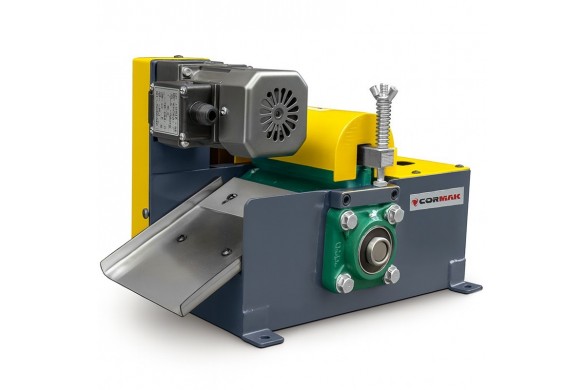
- Optional wire feeder for added material,
- Water cooling prevents overheating,
- Settings memory for quick job recall.
Which materials can be welded?
Stainless steel, carbon steel, aluminum, copper, brass – depending on parameters and experience.
Summary
CORMAK laser welders offer speed, precision, and modern technology – ideal for both large factories and small workshops. Learn more by contacting our technical advisor or visiting our @CormakPl channel.
Latest blog postsAll articles →